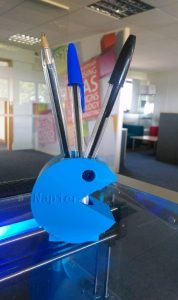
3D printing blog written by Jade Artuad, a two week placement student who joined Napier summer 2017 for experience at a marketing and PR agency.
I tried 3D printing for the first time at Napier
At first, I thought it would be extremely complicated, but then I learned some useful tips.
The 3D printer I used was Robox.
To successfully print in 3D here is what you need to do:
- Load a model: I used the AutoMaker software, and the first thing I had to do was to load a model. You can either choose one already available or create your own. To do so, you can use a website called Tinkercad.
- Layout: once you have loaded it you can change the position, size and even rotation of your model. You can also choose the materials that will be used to make it.
- Settings: the third step is to choose how thin you want the 3D printing to be. The thinner it is, the longer it takes to print. Also, the size of the model affects the printing time. So, it is better to print a small model.
- Purge: before printing anything, make sure to select “purge”. Doing so will clear material from the print head. Once the purge is over, open the door of your 3D printing machine and remove the material.
- Make! The last step is to click on “make” and wait until the printing is done.
Author
-
Natalie is a Marketing Specialist at Napier, who helps out on a variety accounts with a focus on digital work for our clients.
View all posts

